Dashboard illuminated.
The dashboard is big enough to make it's equiptment illuminated and even is a must when you want a good scale model. My choice is to do this with LED's and fibers because they use little power and have a long life.
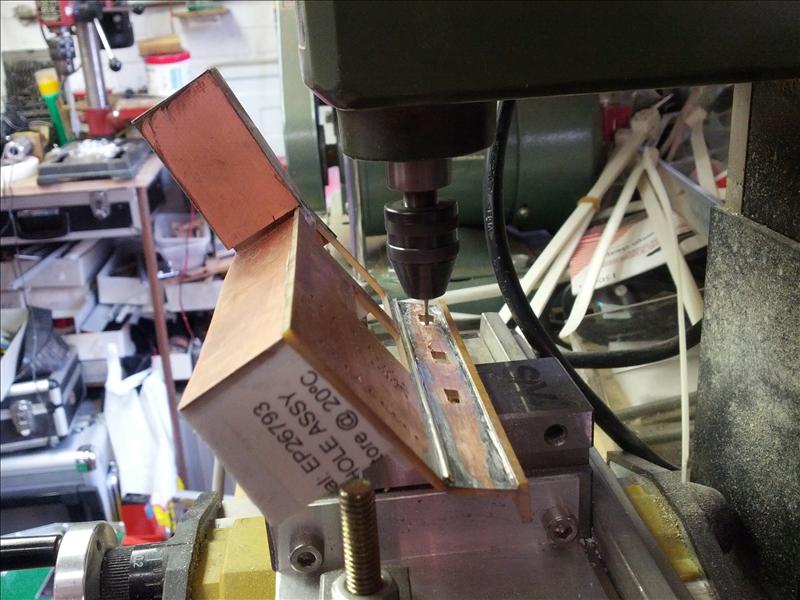
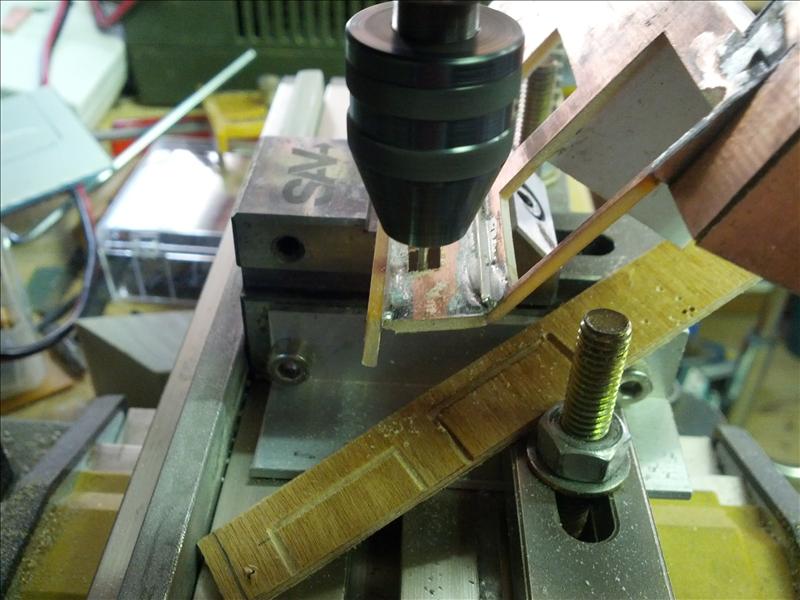
The first thing to doe was making the holes for the equipment lights in the upper part of the dash.
Milling the holes is a bit tricky because it's difficult to clamp.
The first test with round led's.
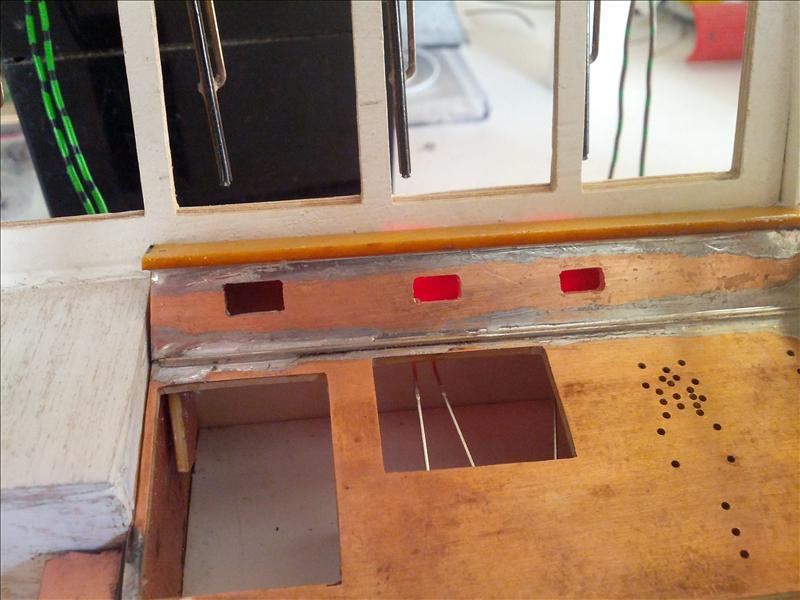
The result was a bit disapointing.

The next step was installing square led's that are just before the display's.
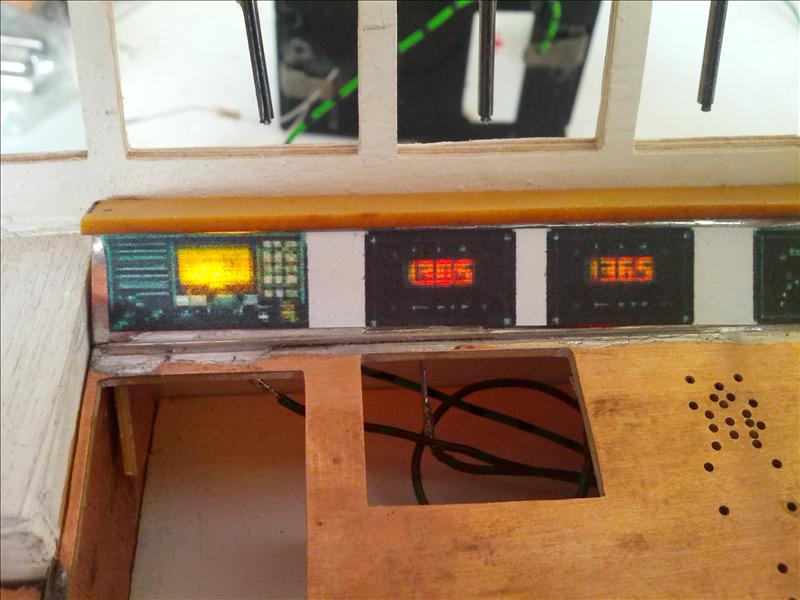
This looks a lot better.
The next is a 5 mm LED for the radar.
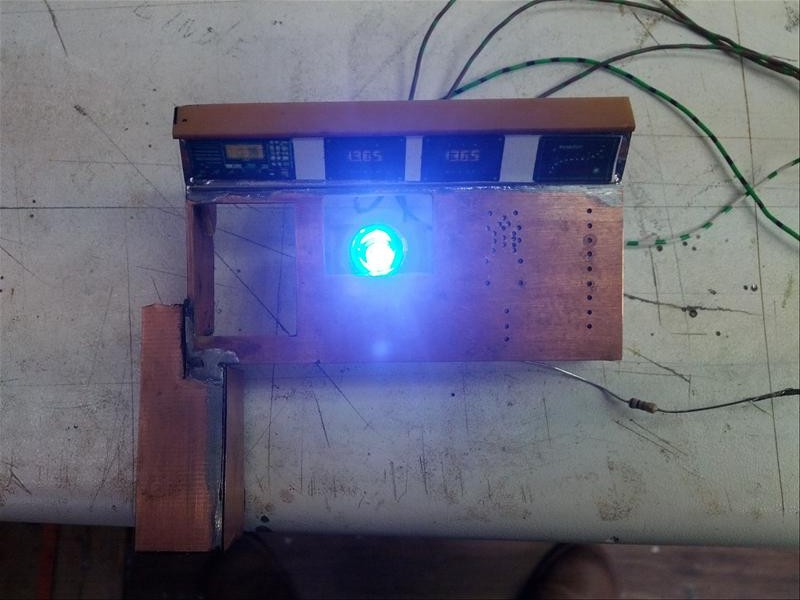
A lot of light, maybe to much. Removing the reflector is a possiblity.

With the paper radar image it looks not to bad.
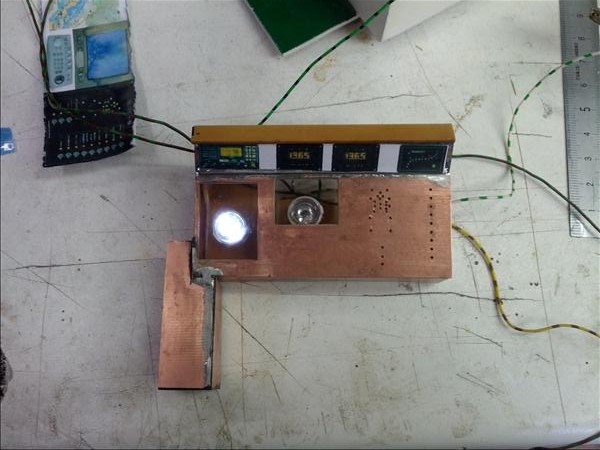
The led for the chart.
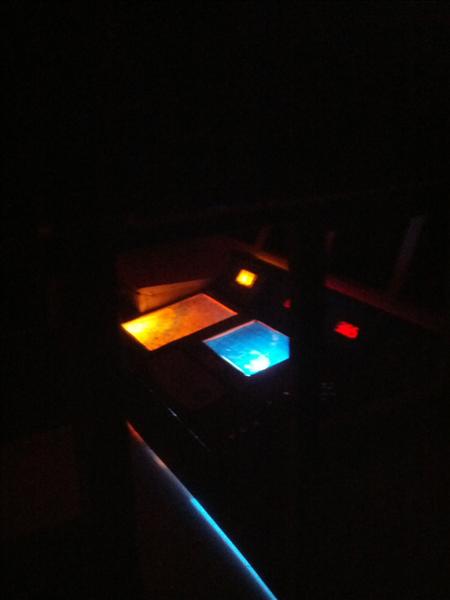
The led underneath the chart is to local and it's replaced with a normal lightbulb.
This looks a lot better, just a little bit weaker and it's perfect.
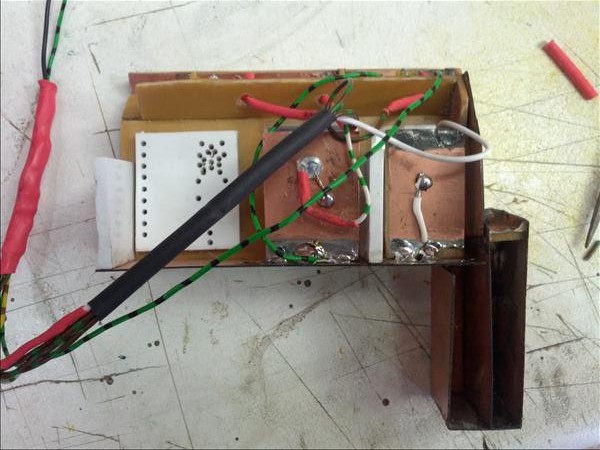
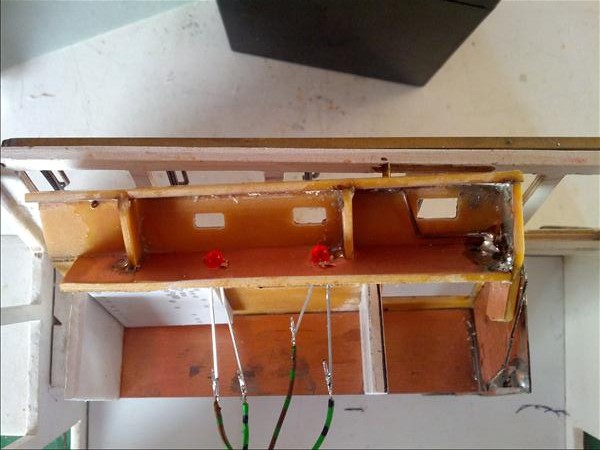
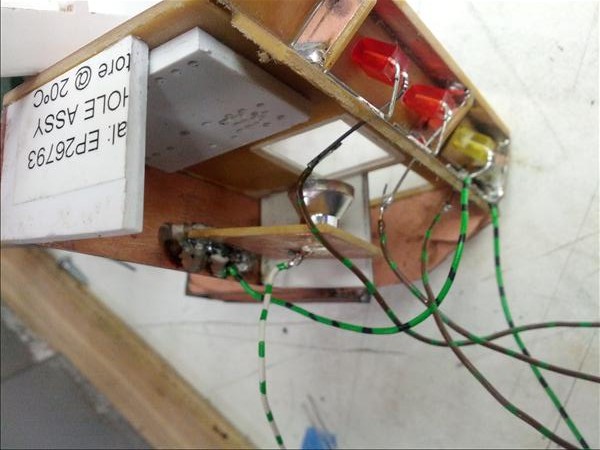
The bottomside of the dash, made out of circuitboard and polystyrol.

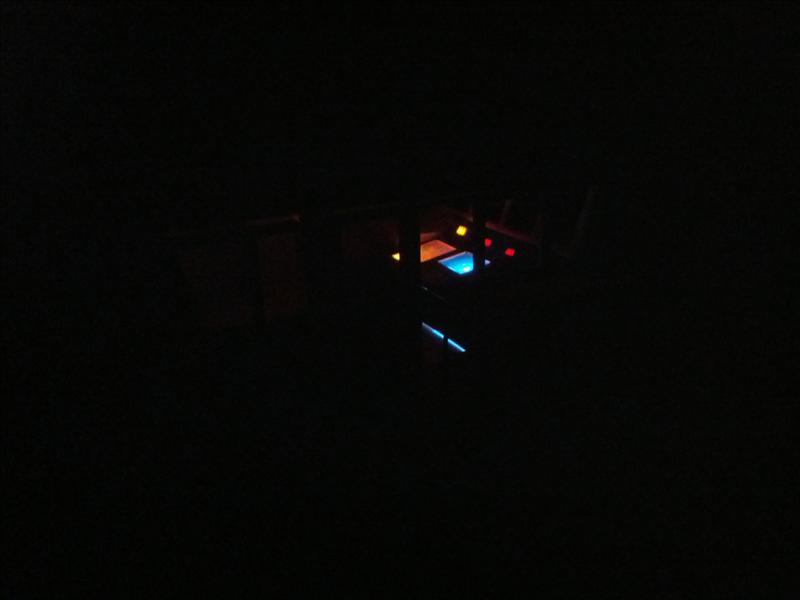
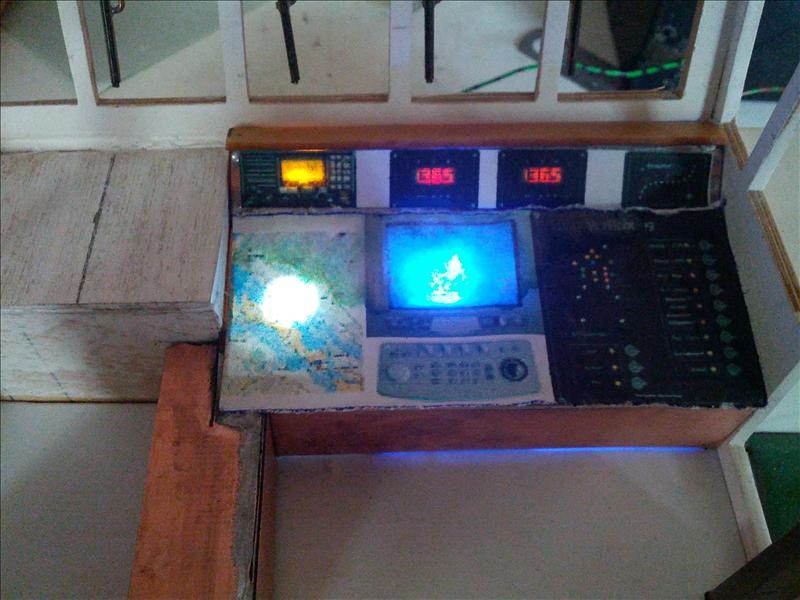
The dash is painted with matt paint and this brings the lights up.
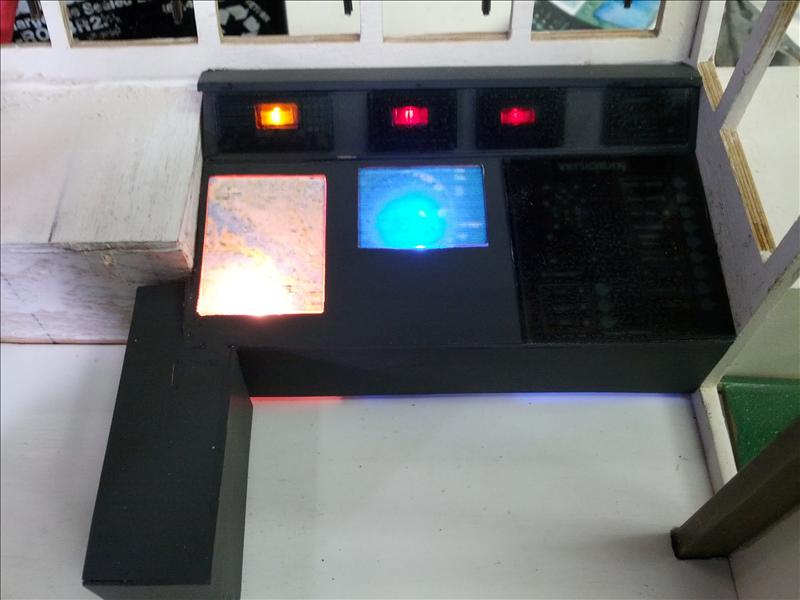
Here are the chart and the radar image placed on there displays.
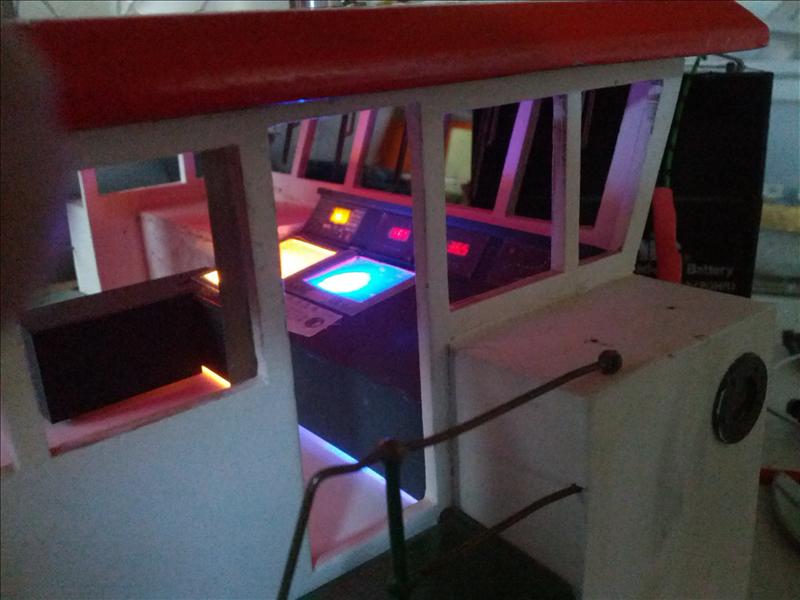
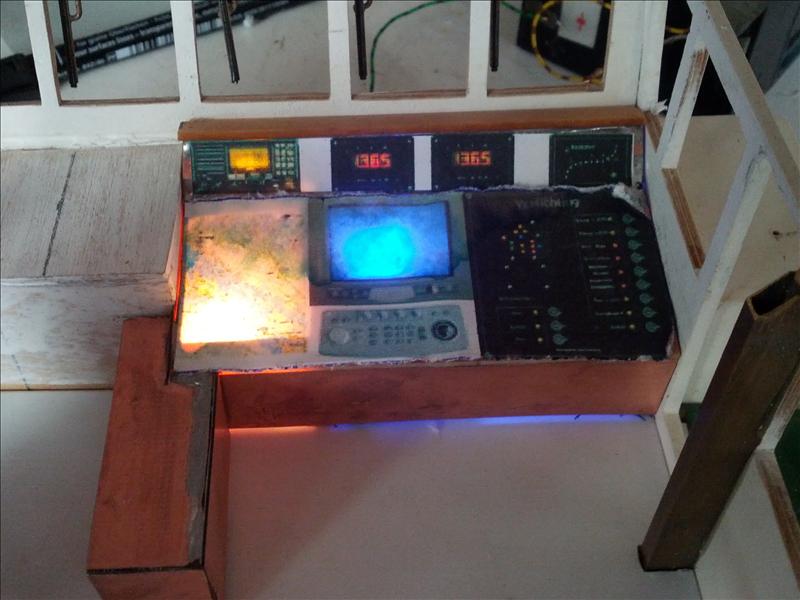
The view from outside the wheelhouse.
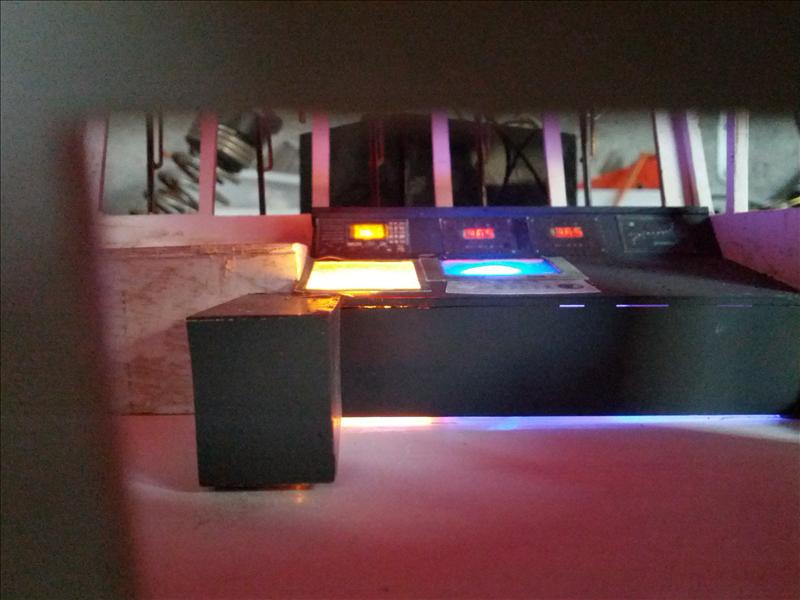
The led for the radar is also replaced with a lightbulb and both the lighst are dimmed.
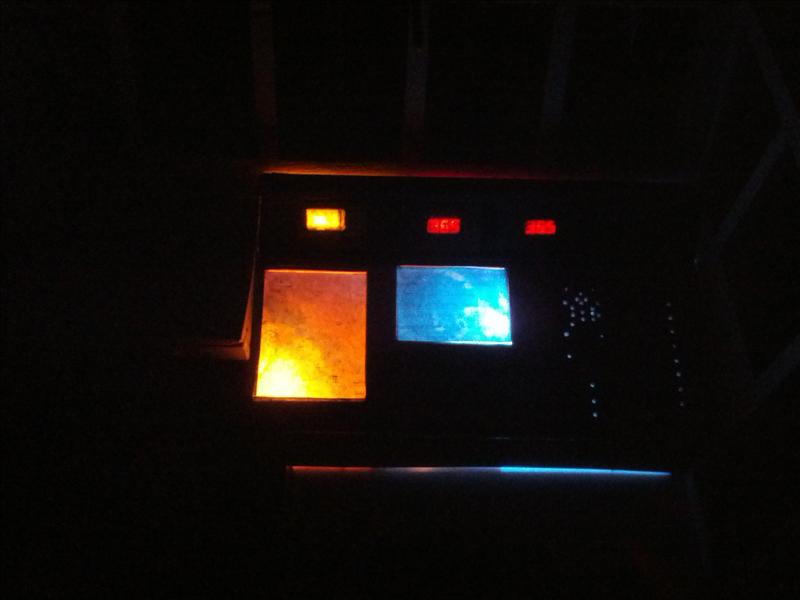
Now it is how it should be.