Hull - Bullwark
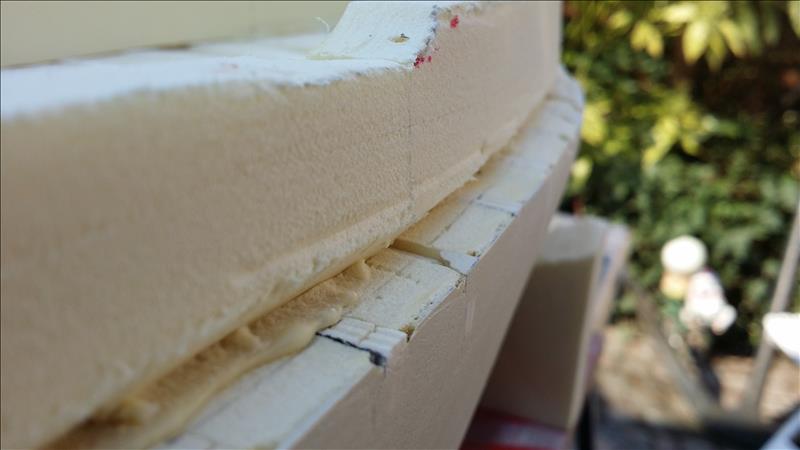
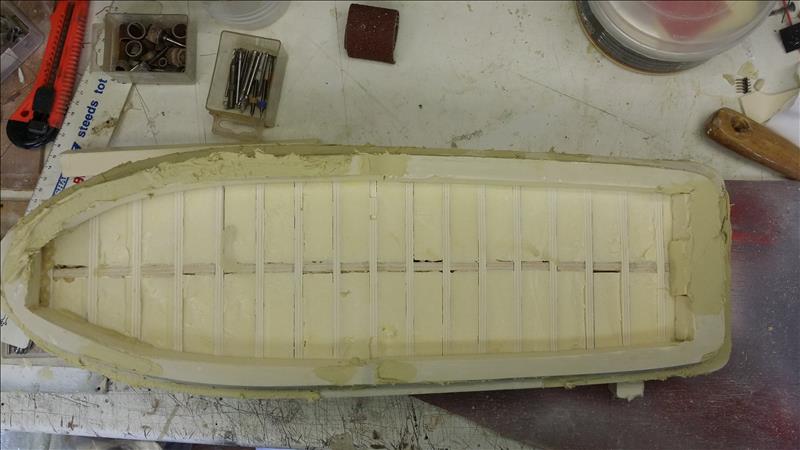
The next step wasmaking the bullwark and this is also made with XPS foam that I cut in strips of 25 mm and 30 mm with one side cut in a angle. On the hull I made markings where the strips need to come but with a extra 2 mm to get enough thickness of polyester putty.
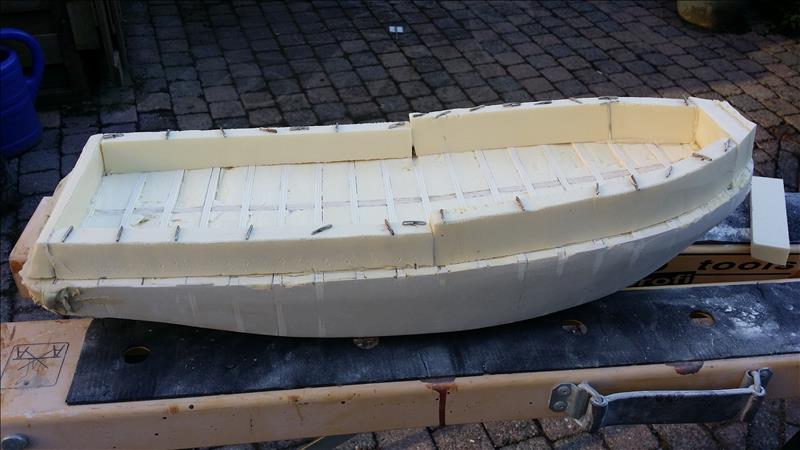
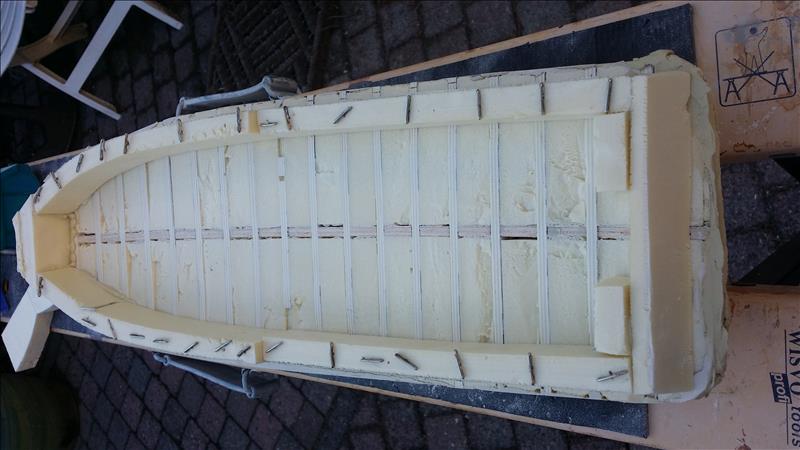
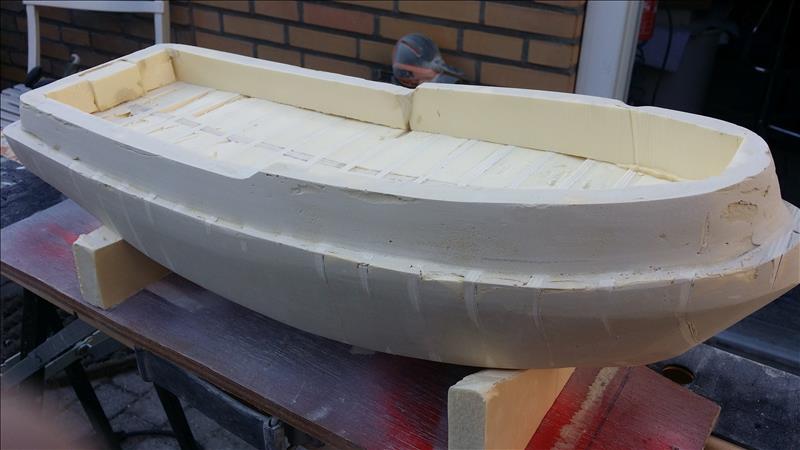
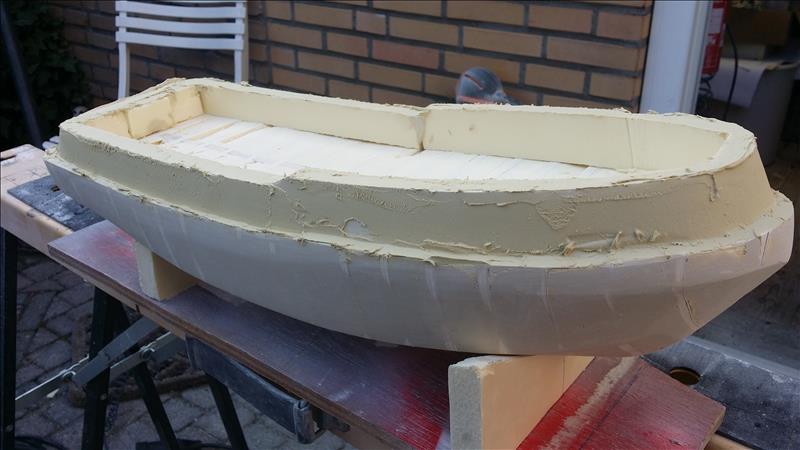
The bullwark of XPS foam.
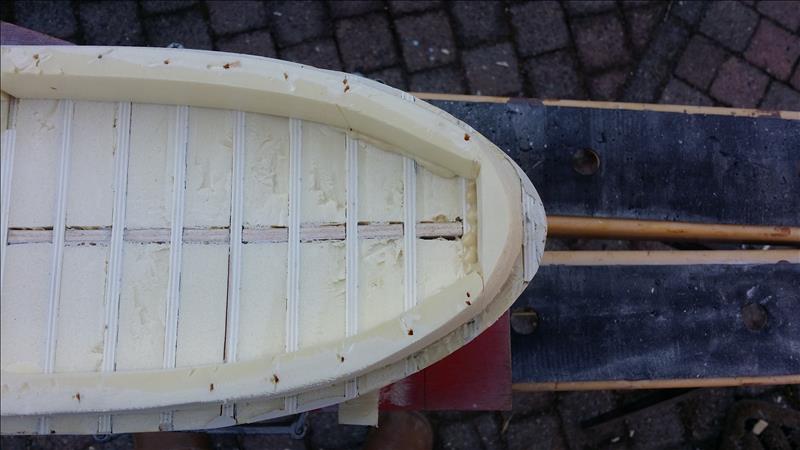
Starts to look like a ship.

The XPS is glueed with kit and fixated with needles.
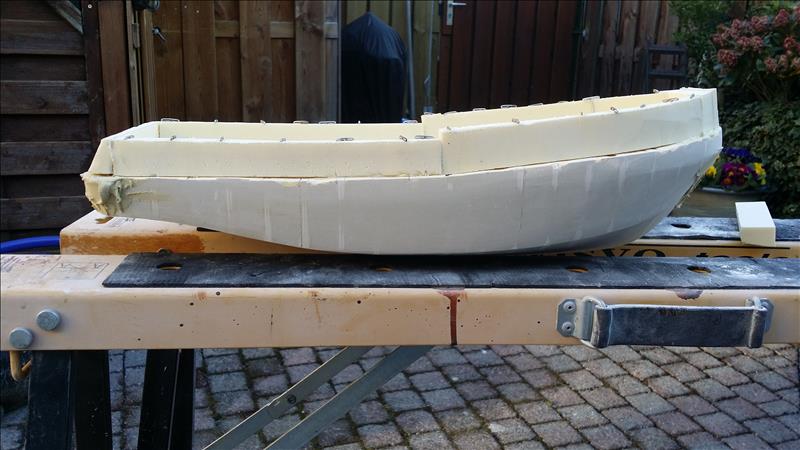
The shape is starting to get there.
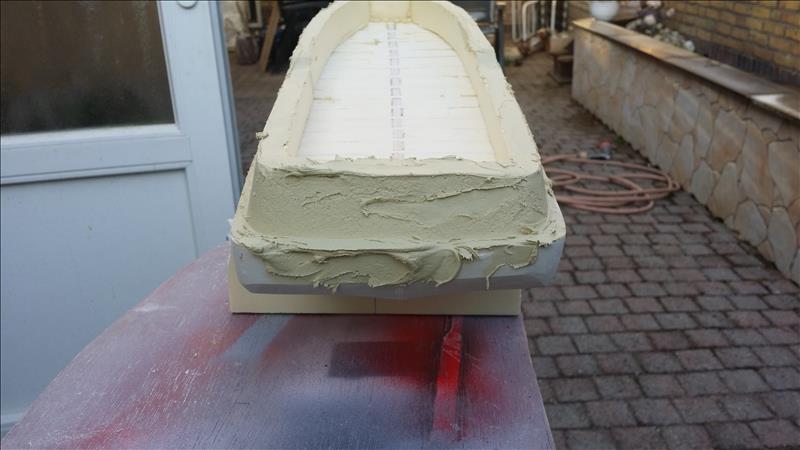
at the back is a straight piece of foam.
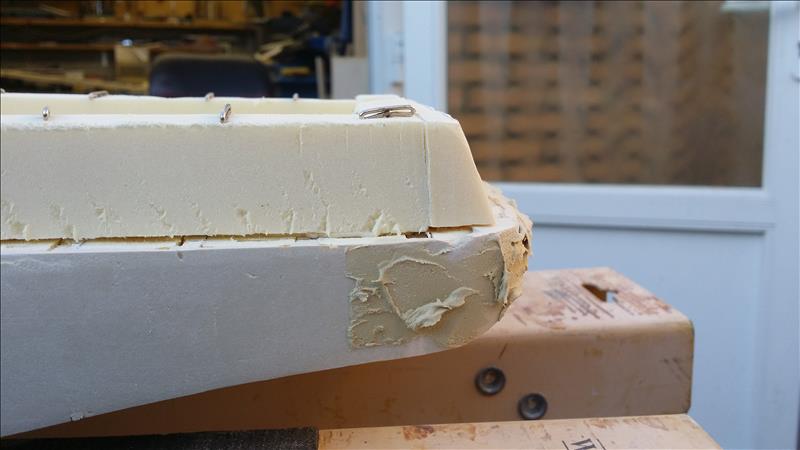
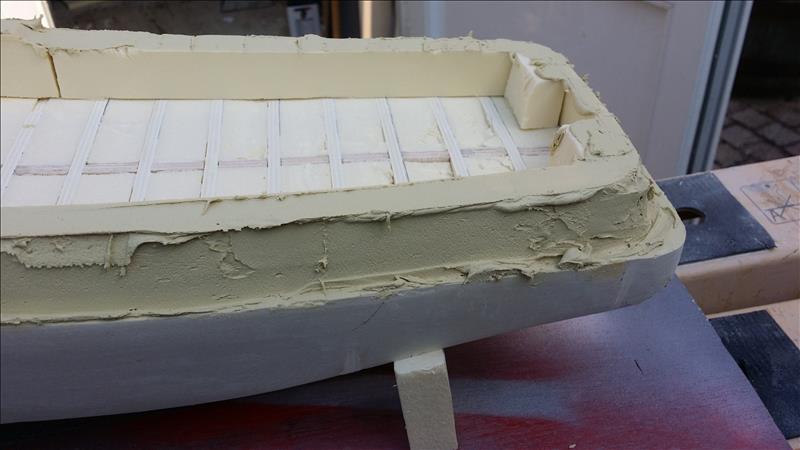
After the glue is dried I cut a part of the foam away where it touches the hull
so this can get filled with polyester putty so the foam doesn't get visible when the putty is sanded.
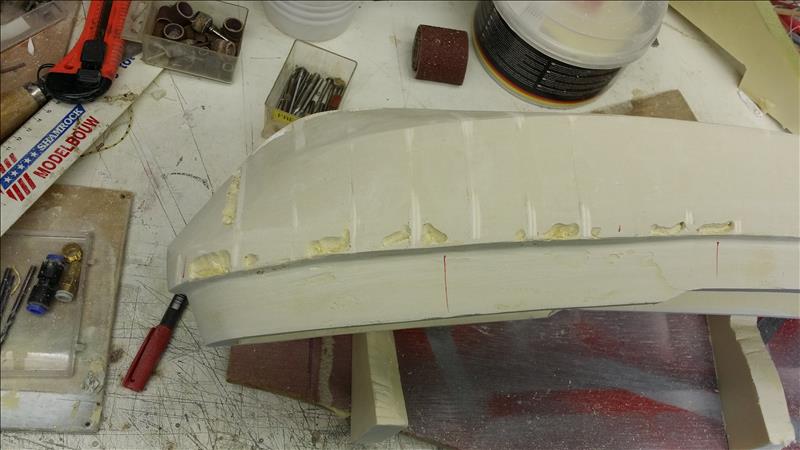
The bow section is sanded.
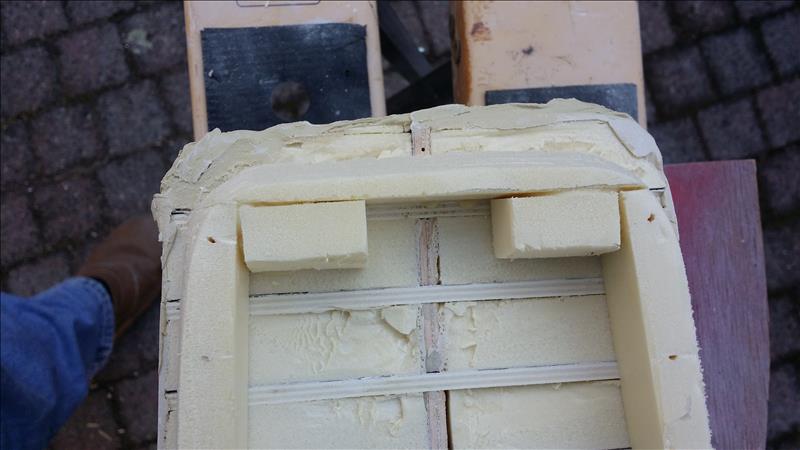
and the back is roughly in shape.
 .
.
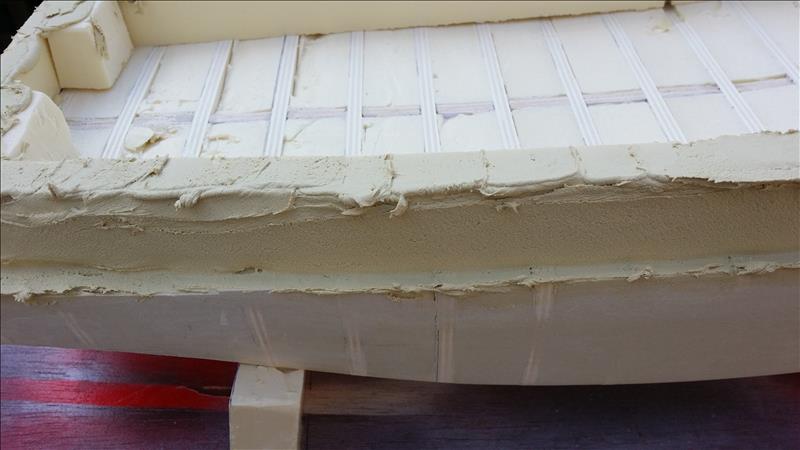
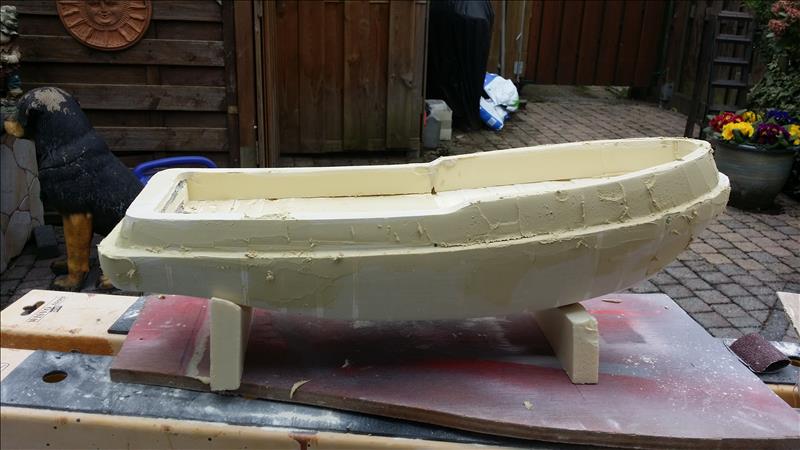
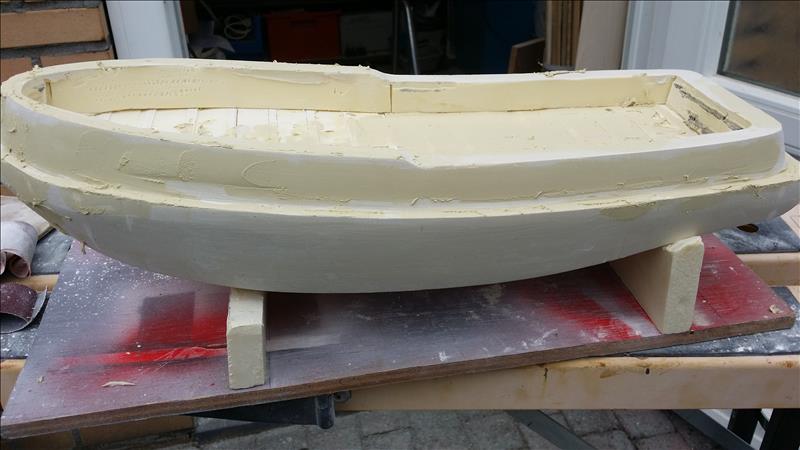
The first layer of polyester putty.


And now sanding.....
The first layer is sanded.
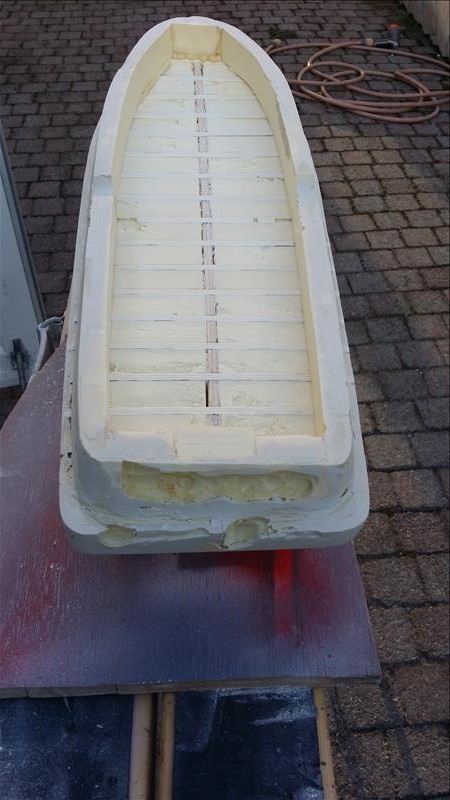
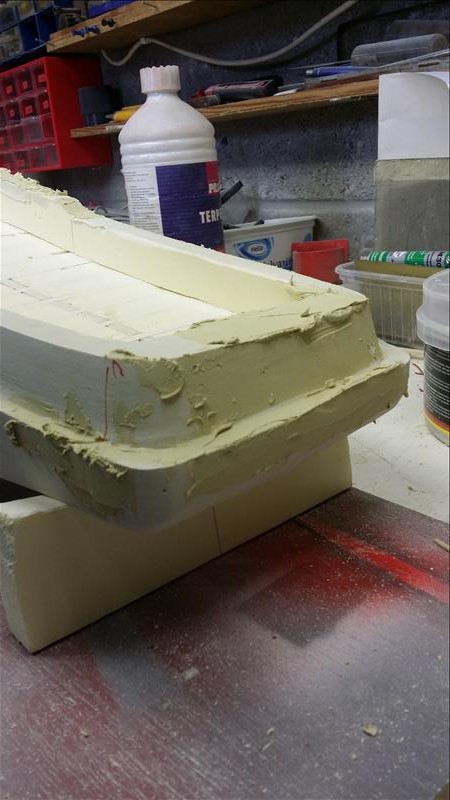
At the back the layer of putty was to thin so the foam came through,
so I removed some extra foam that will be filled with putty.
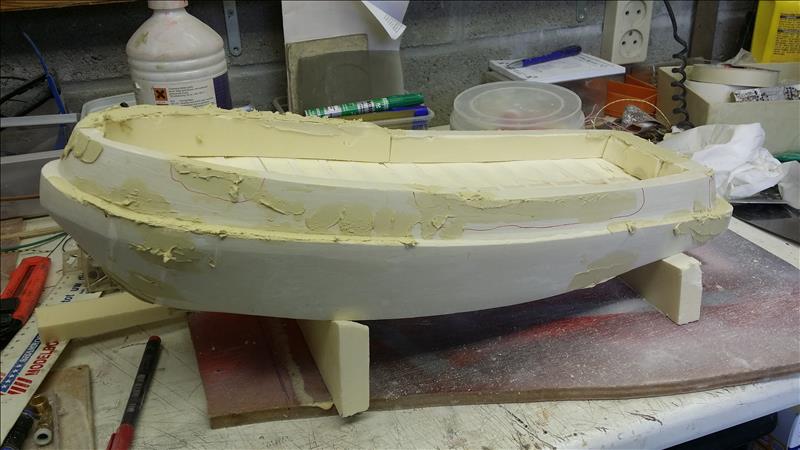
All the rough surfaces will be filled with a second laer of putty.
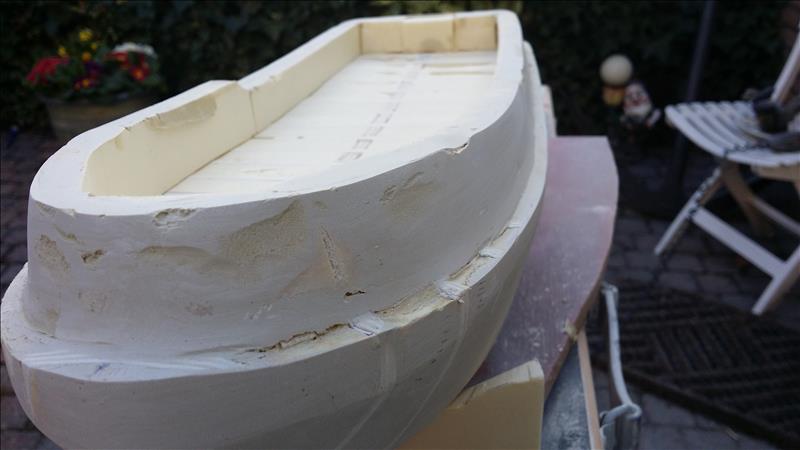
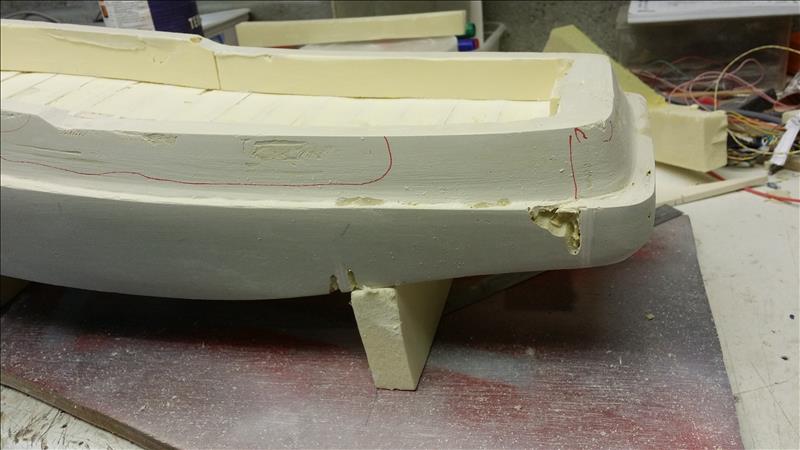
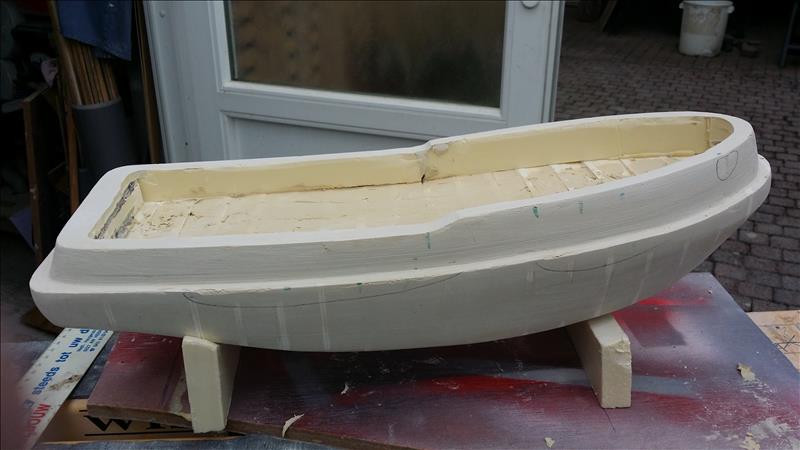
The second layer is in place.
and the backside is filled up.
During the sanding some of the foam kept coming into sight, so I tried the filler on a spare piece of foam and unfortunatly it reacted with the filler. So I decided to remove all the visible foam with the grinder and fill it up with polyester putty.
The visible foam grinded away.
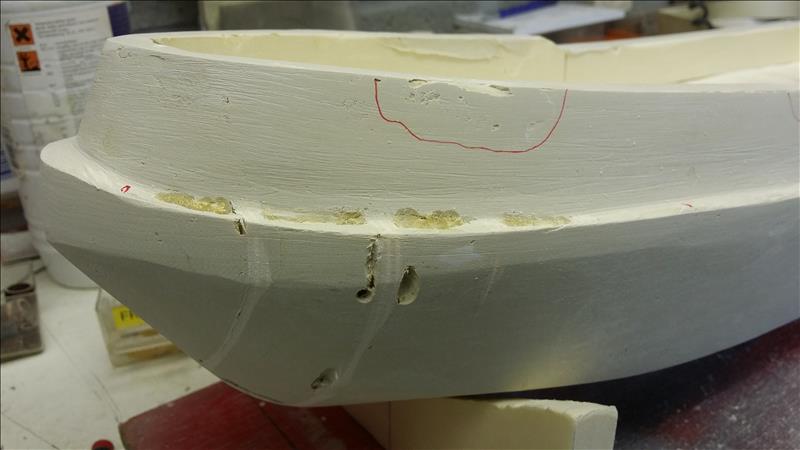
The small holes on the bullwark.
All the small holes in the putty
Because the width of the side was different from left to right the right bullwark got some extra putty.
After a last sanding final result, time for details....