Making the mould.
Making a mould to get a epoxy hull was a first voor me. On the internet you can find a lot of instruction video's in which you find a lot of usefull information.
I ordered the epoxy, the glassfiber roving and tools at HP Textiles and from a other supplier some bended sicccors to cut the roving during laminating.
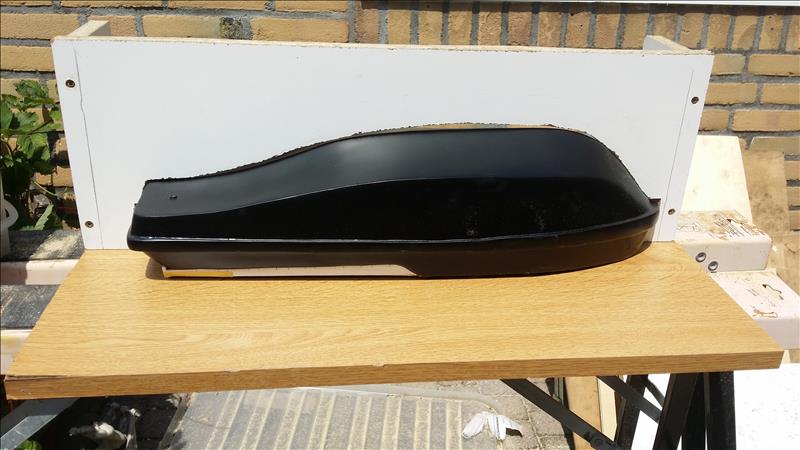
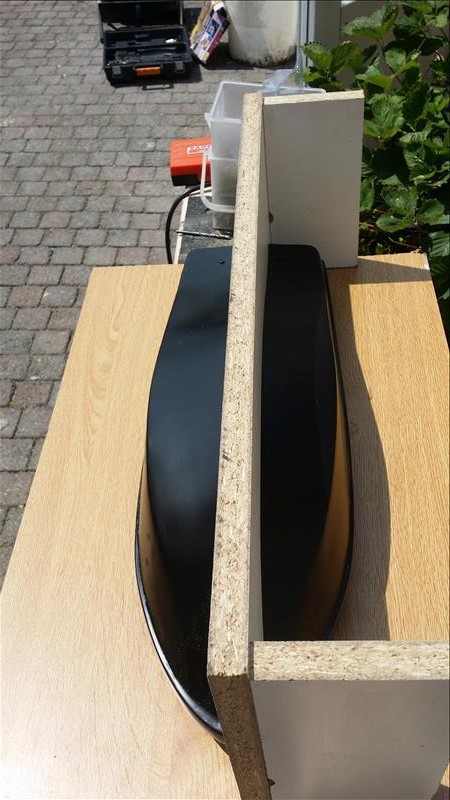
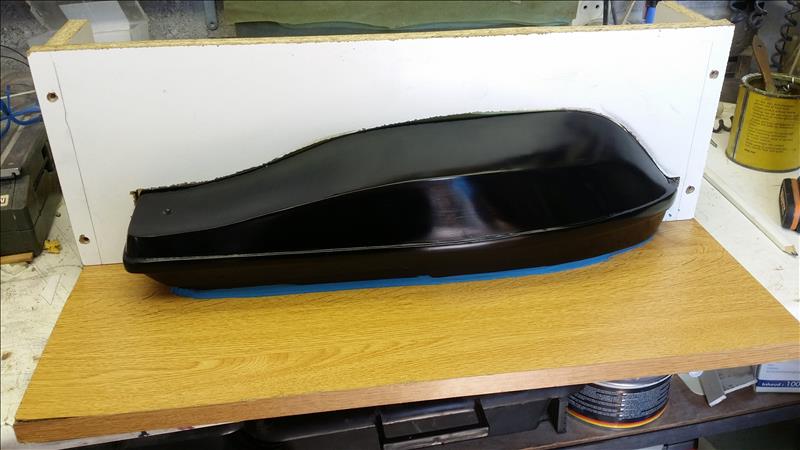
The first step was making the baseplate and the separation plate out of chipboard panels. In the separation plate the form of the hull is removed with a saw. The separation plate is necassary because I want to make the hull and the bulwark as one part. This means that the hull can't get out of a mould that is made in one piece.
fitting the hull in the separation plate.
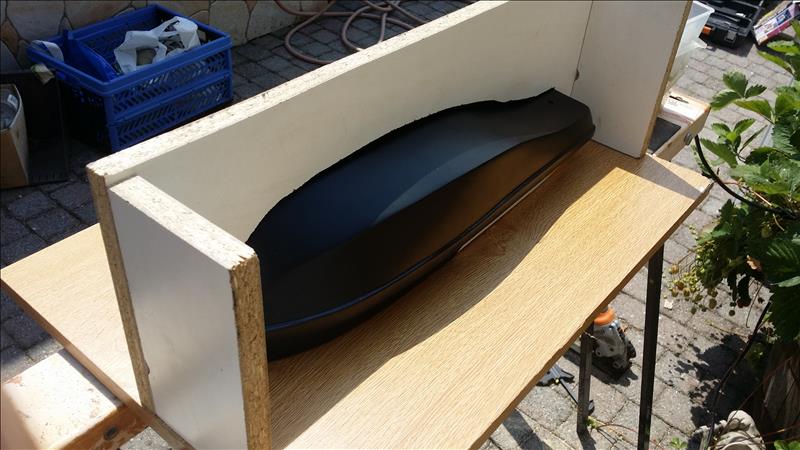
this part will be done in the second stage.
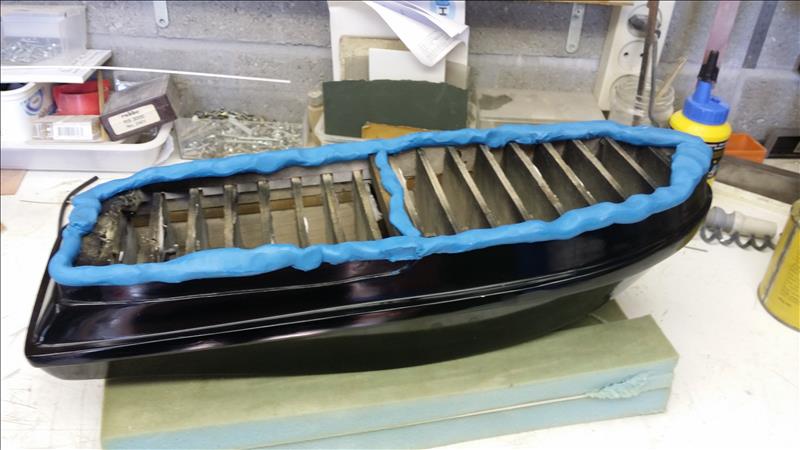
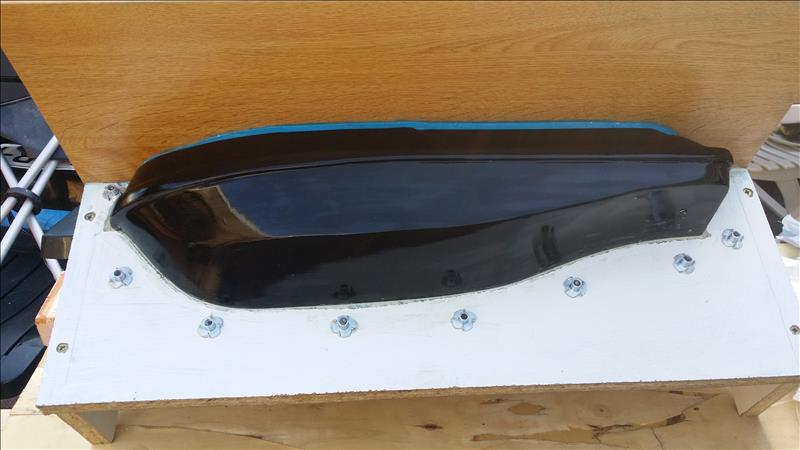
To lock the hull to the baseplate and to fill the gap between the hull and baseplate a layer of plasticine.
Before this is done I waxed the hull about 6 times and between layers each is polisched. This fills the small holes, scratches and dents
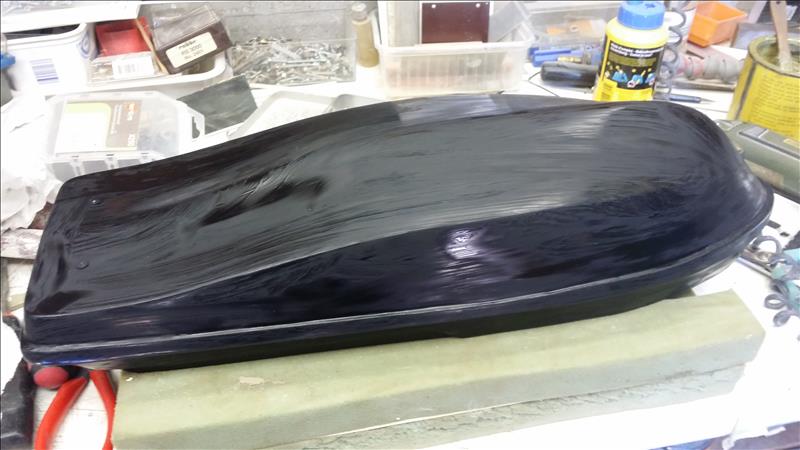
the applied wax,
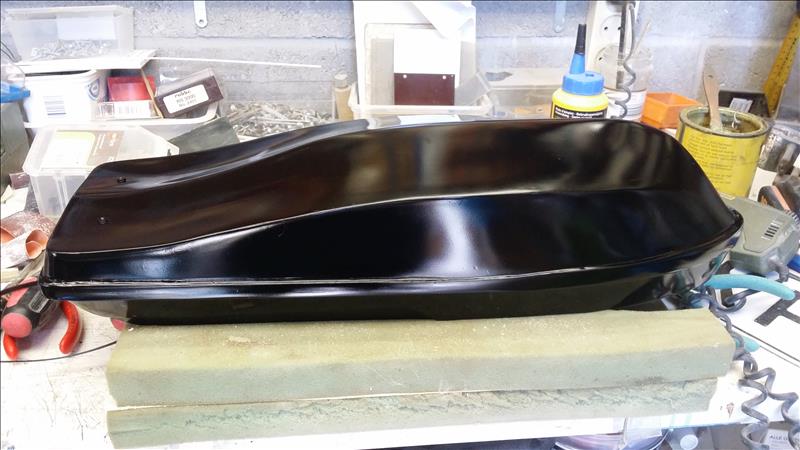
and polisched.
The hull is fixed to the baseplate, excess plasticine is removed with a wooden stick and then smoothed.

After a final adjustment the separation plate can be mounted, between the hull and the plate is a thin layer of epoxy putty to get a good sealing between the both.
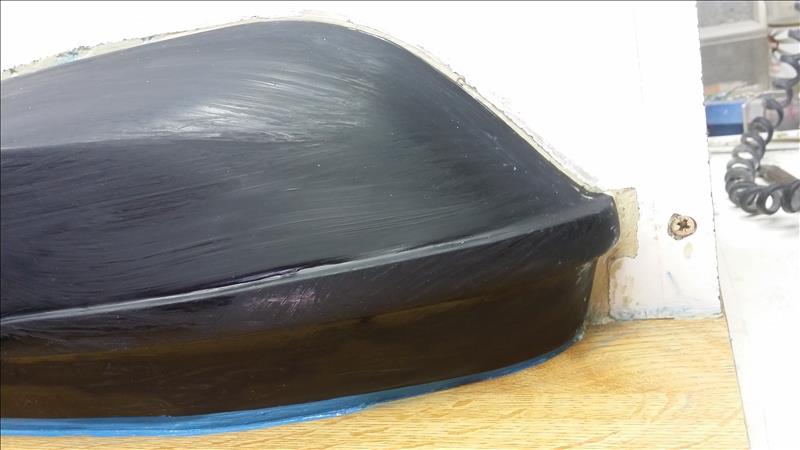
The hull and the plate gets a final layer of wax to get a good releasing.
Because the mould has two parts I mounted M5 nuts that will be laminated in one part. They are glued with the hot glue gun.
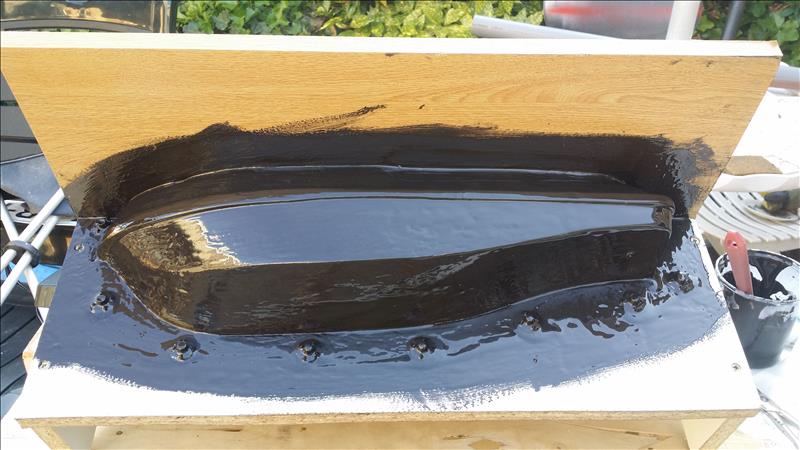
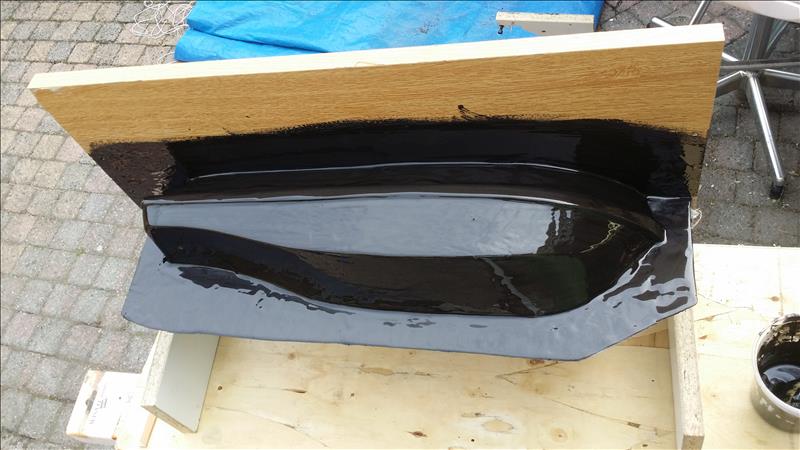
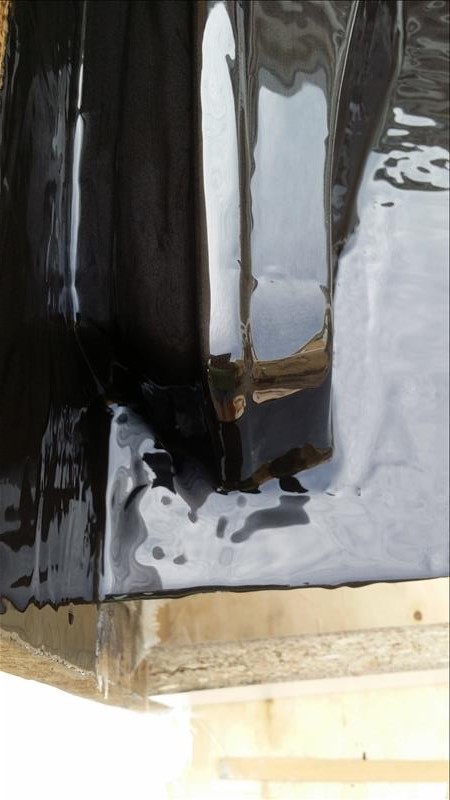
The gelcoat is applied
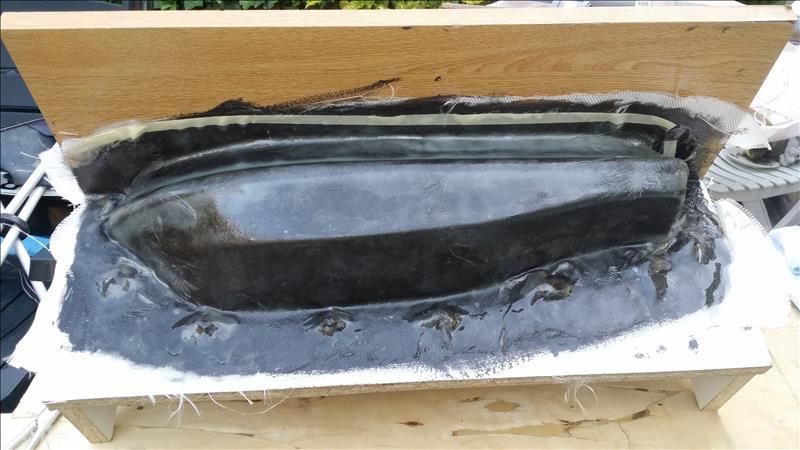
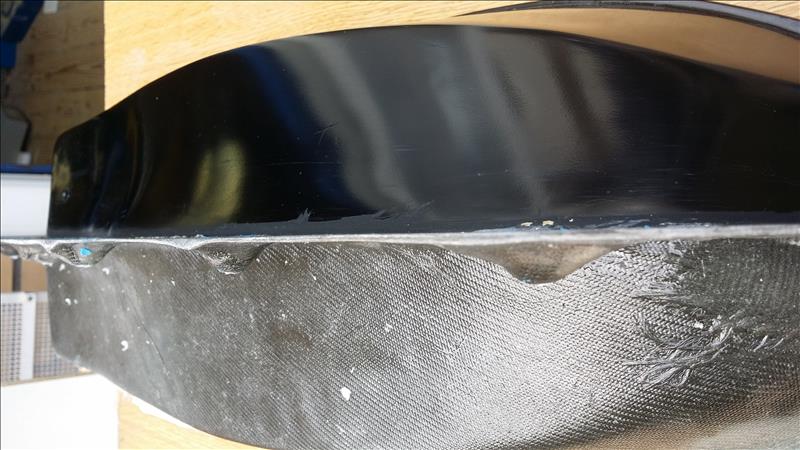
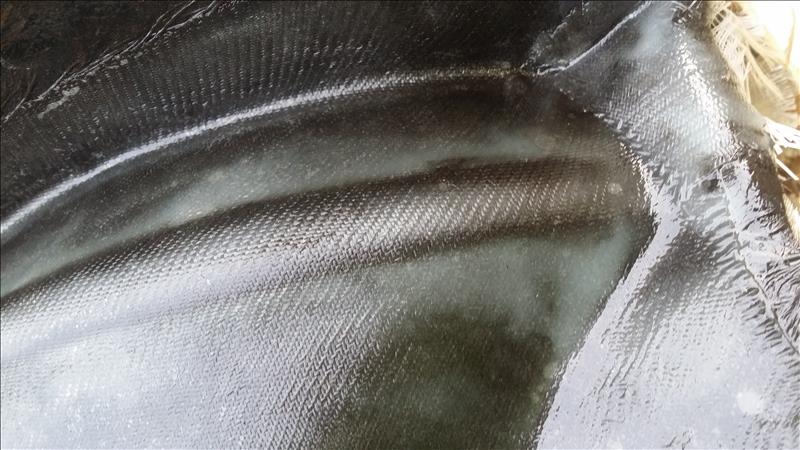
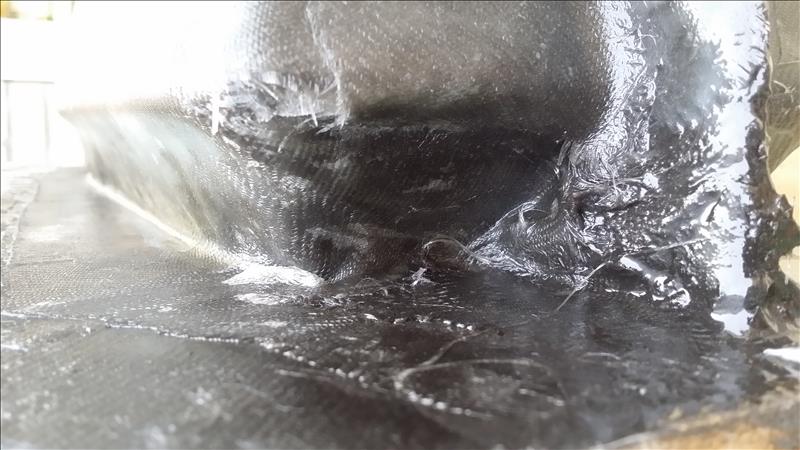
Laminating is done.
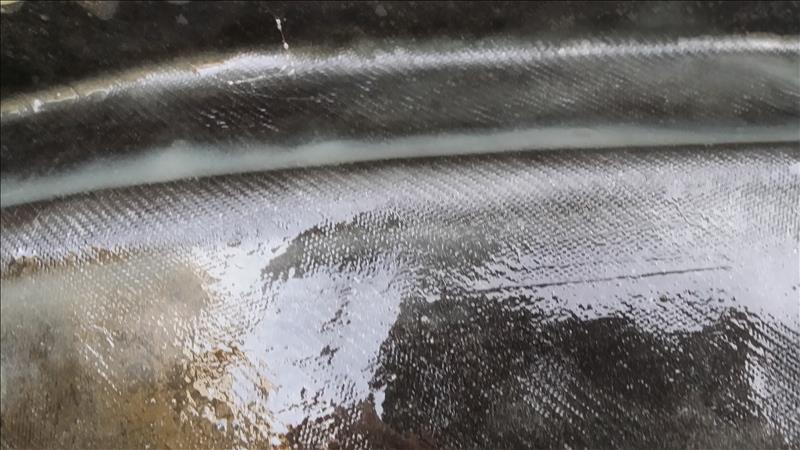
The structure of the roving is clearly visible
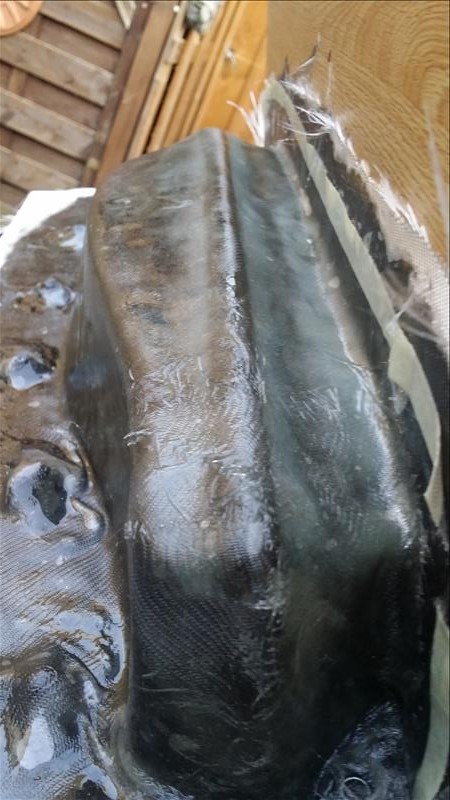
On the right side you see resin with cotton flakes
Finished.
After removing the the separation plate the edges are trimmed en the thread holes are closed with plasticine.
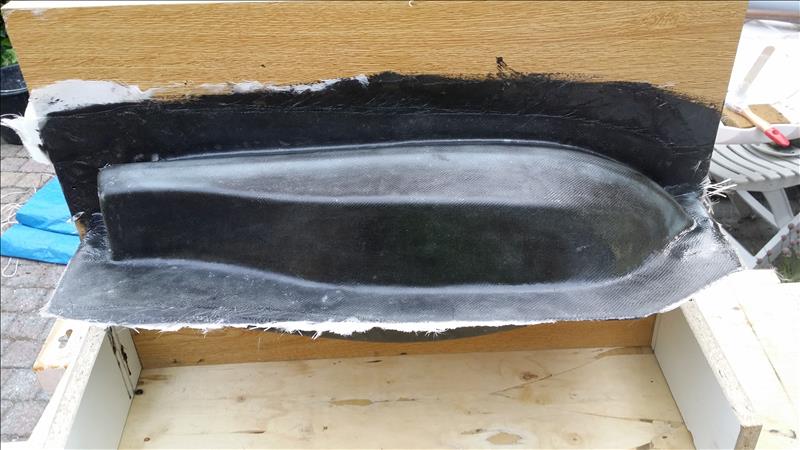
A topview of half mould.
The gelcoat for the second part of the mould is applied.
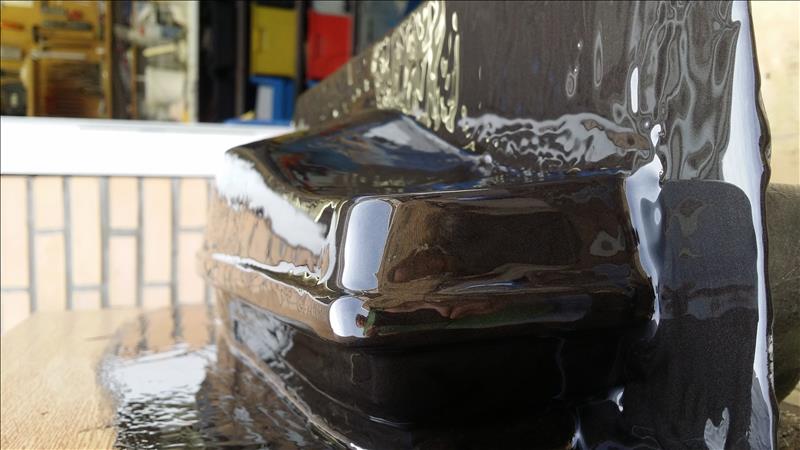
a thick layer of gelcoat.
The gelcoat flattens in about 15 min.
Once the gelcoat starts to dry and doesn't stick to a brush, laminating can start.
The second part is finished.
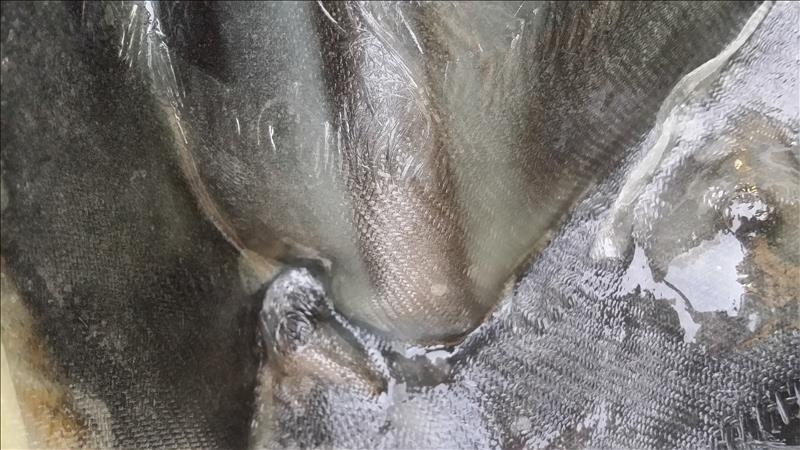
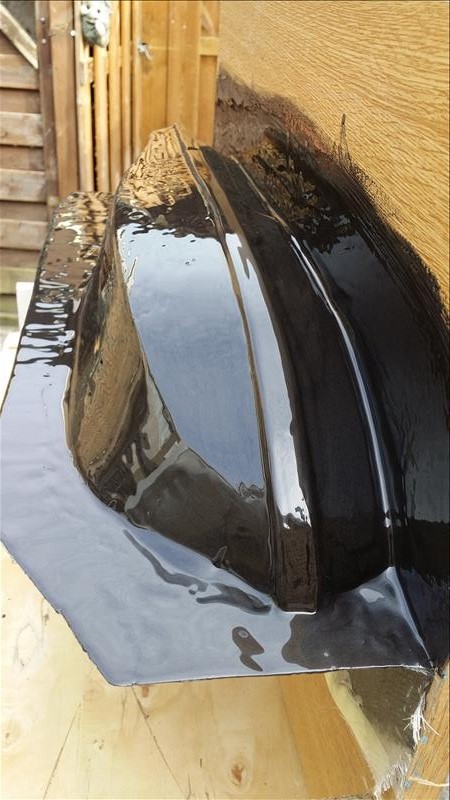
the filled bow section.
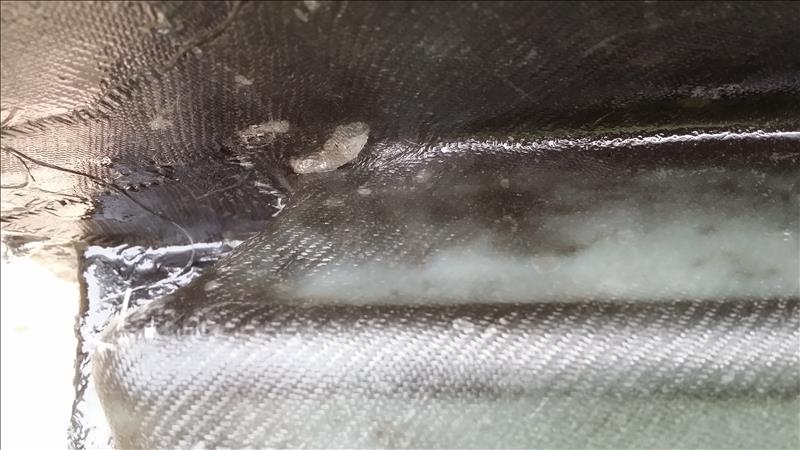
Here are also the cotton flakes visible.
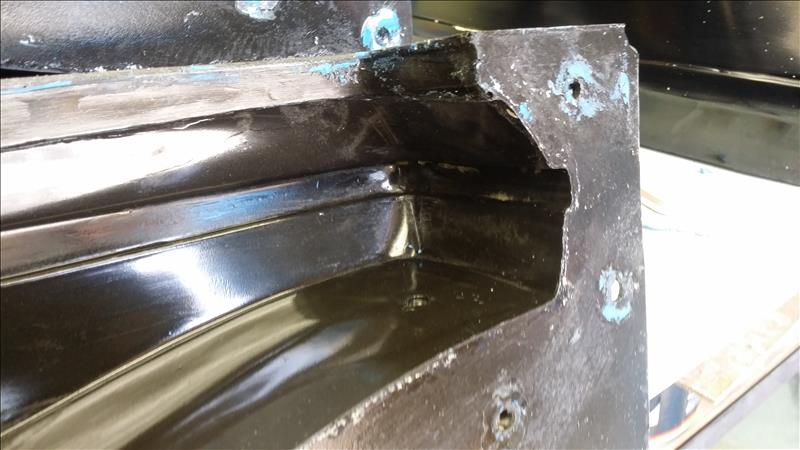
The most difficult angle of the mould.
Finished.
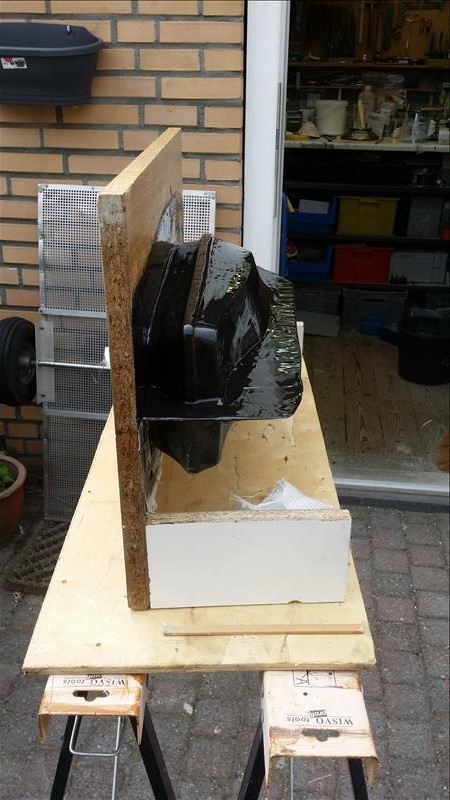
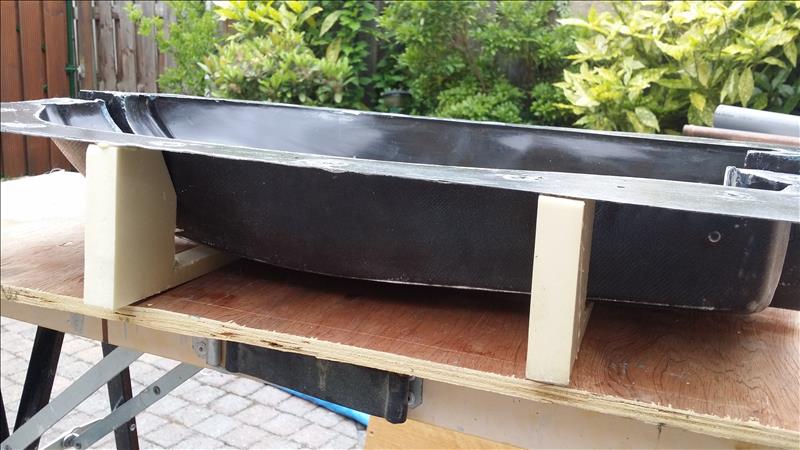
To handle the mould during laminating there are two supoorts mounted.
After I finished the laminating I let everything harden for more then 24 hours before I started to separte the mould. I was a bit nervous to do this because when something was wrong this meant I could start all over again. With a big screwdriver and a wedge I carefully separated the two parts of the mould and let some water between the mould and the hull to help the separation. This helped to release he parts and with some force I pulled the first half of the mould free. The second part was somewhat easier and all three parts were still in good shape and undamaged.
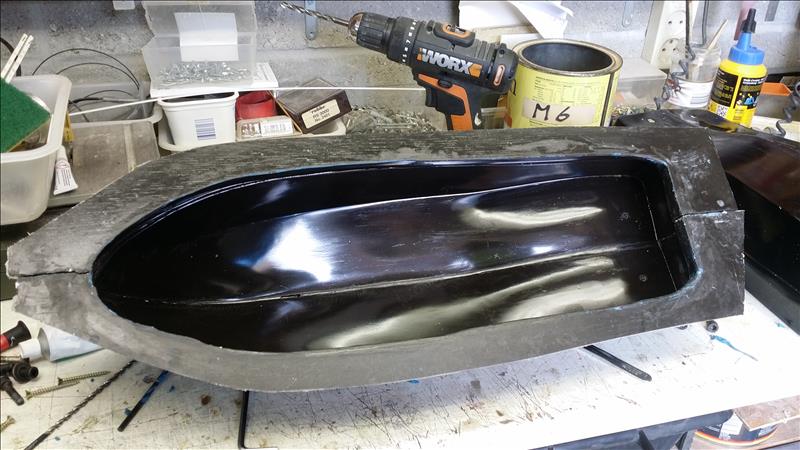
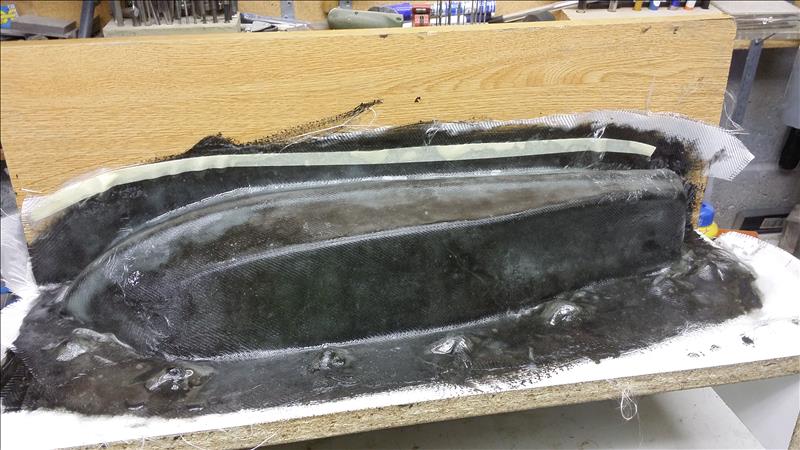
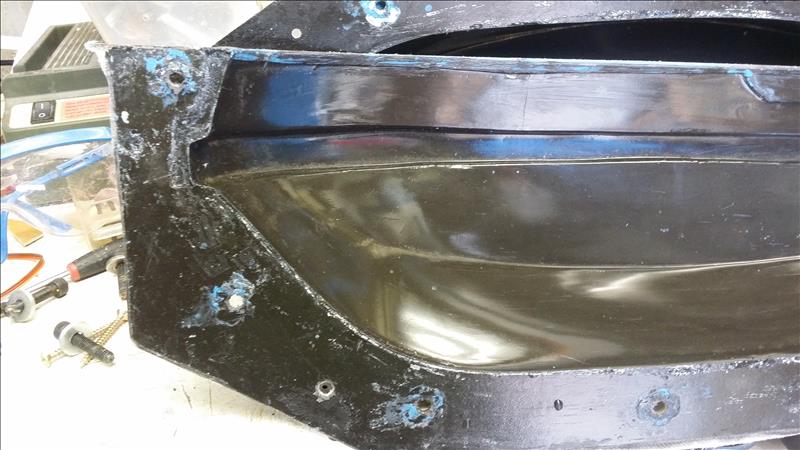
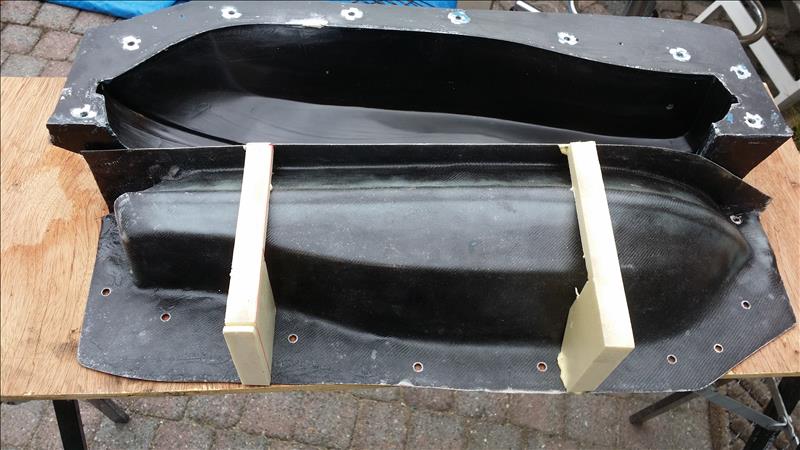
The empty mould.
The stern section.
 '
'
the bow section
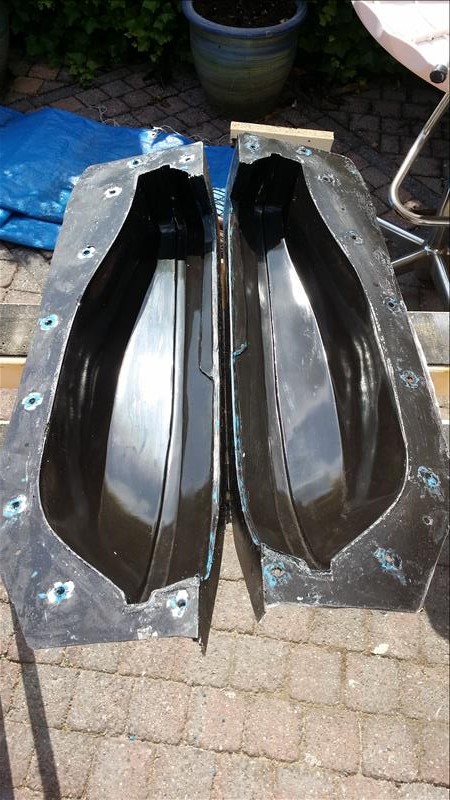
Both parts of the mould.
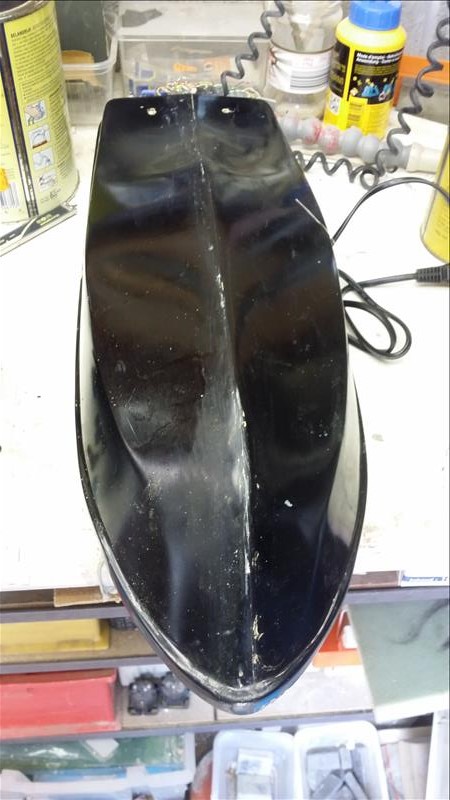
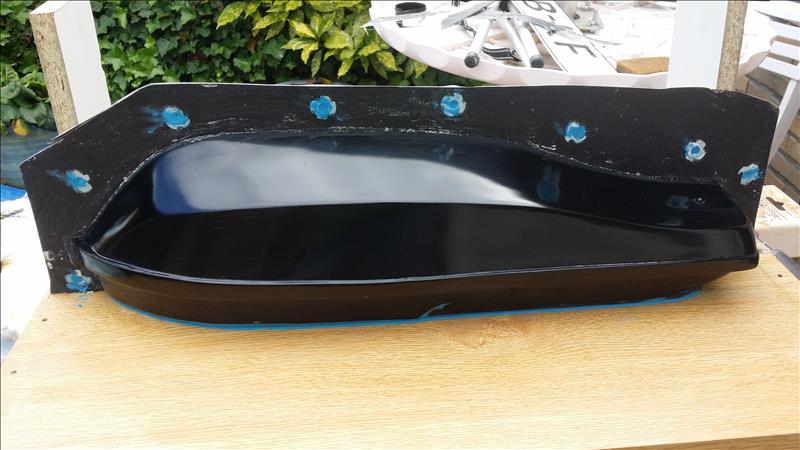
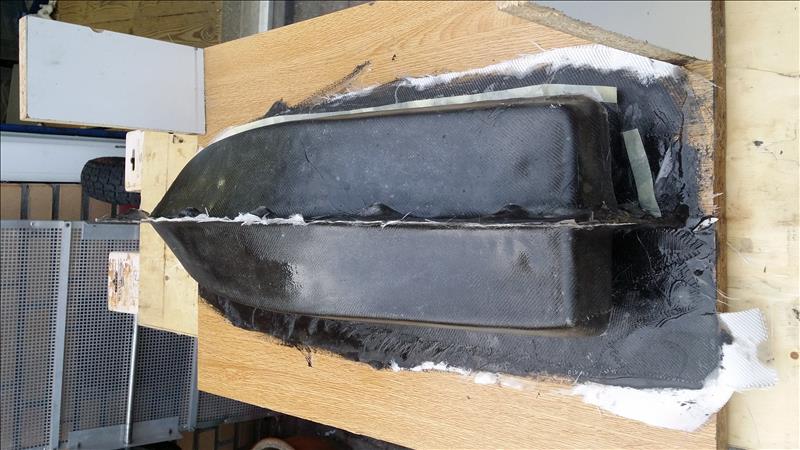
The original hull after releasing it from the mould.
To make the laminating easier I mounted some supports made out of styrodur foam.
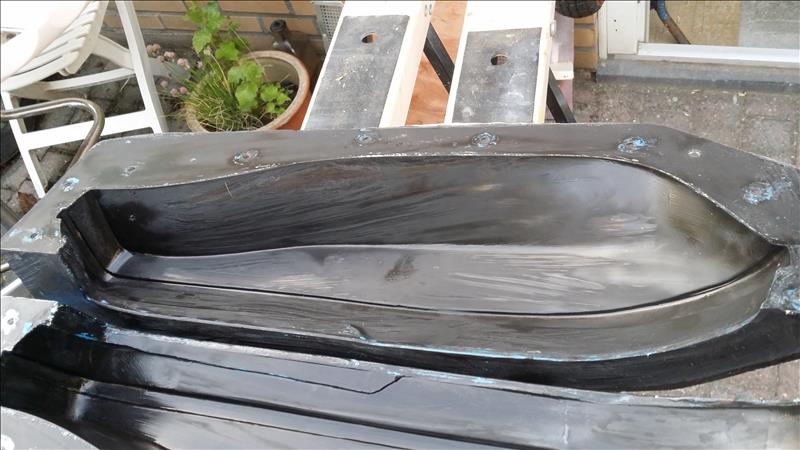
The next step was waxing the moulds and polish it ( did that 8 times ).